Can you approach a manufacturer about a lip gloss tube for your own brand if all you have is a reference image or an initial idea? Yes. Sambound supports packaging development starting from an idea, a physical reference sample, or a 3D file, with mold development where needed. You do not need a complete set of drawings for the first conversation, but both sides should understand what the packaging will hold, how you want it to look, and which elements need customization.
For empty lip gloss tubes with a wand, start by defining the complete component set and development scope. Then confirm colors and artwork on samples, and make sure the order corresponds to the version approved for production. Each approval will then have a clear scope, and you will know what remains to be confirmed.
Define the Target Fill Amount and Complete Component Set
First, tell the manufacturer what type of lip product you are developing, the target fill amount, and any ideas you already have for the bottle or applicator. If you have a physical reference sample, explain whether you want to retain its proportions, how it feels in the hand, or the shape of its applicator tip. An image can also help communicate the intended appearance, but specific dimensions and internal fits still need to be established separately.
For lip gloss packaging with a wand, consider the bottle, cap, wand stem, wiper, and applicator tip together. The wiper sits in the bottle neck, and the applicator passes through it as it is withdrawn. The applicator shape, wiper fit, and actual formula together affect product pickup and wiping. After choosing a bottle, confirm the matching component set rather than substituting another applicator or wiper simply because it looks similar.
Capacity also needs clarification. Brimful capacity in a catalog is the volume a container holds when filled to its opening; it is not the planned fill amount. Have the packaging and filling teams review your target fill amount before confirming the bottle and components. Share specific formula information as needed for the project, and arrange packaging evaluation with the actual formula in parallel.
Decide Whether to Use Existing Parts or Modify Them
Once you have candidate bottles and components, describe each proposed change. Keeping an existing bottle and cap while changing colors, surface finishes, or artwork involves different work from changing the bottle profile, cap dimensions, or component fit.
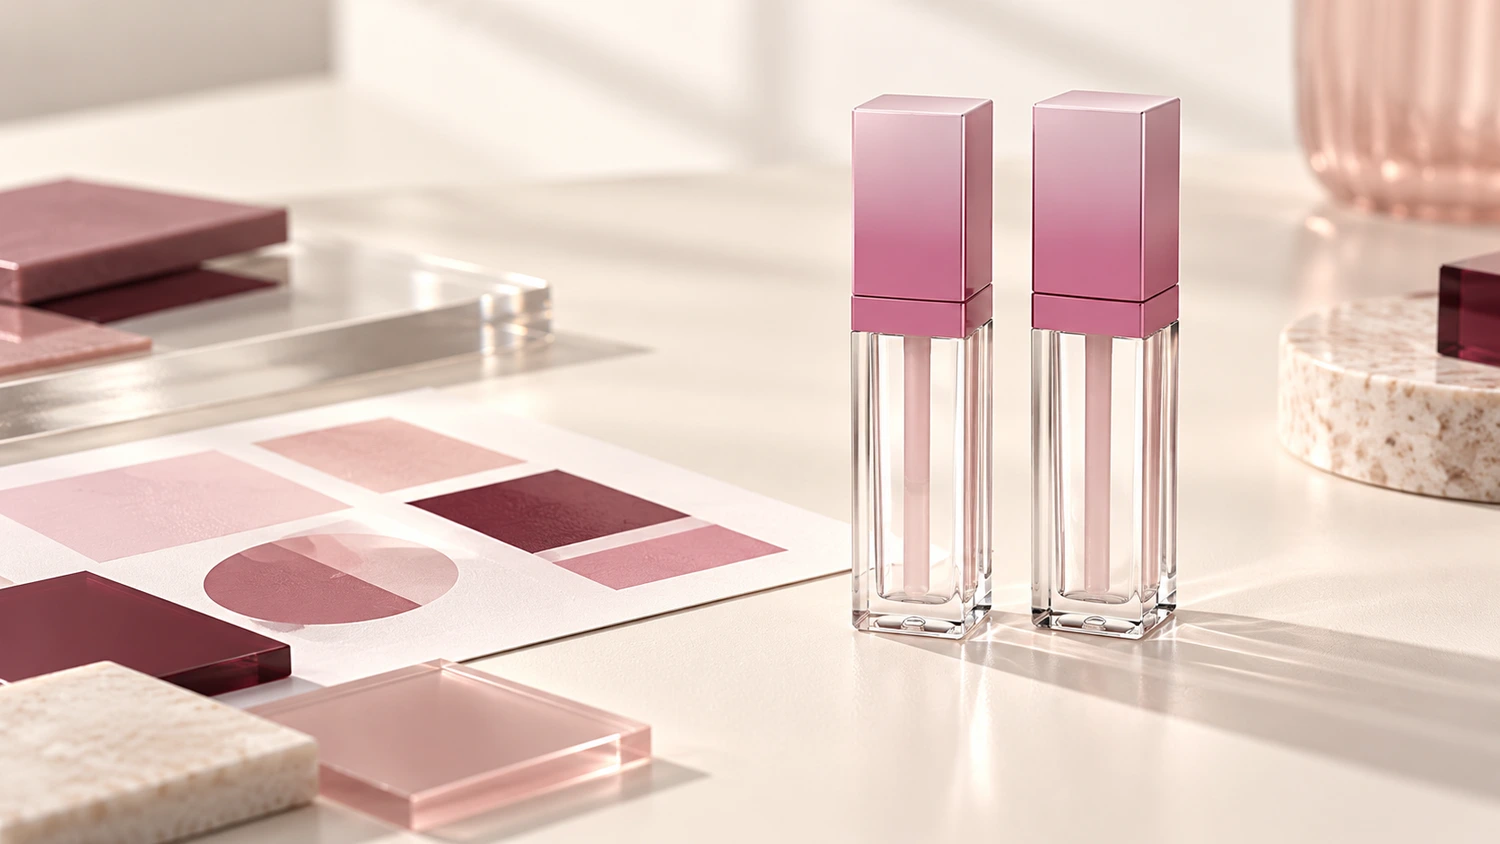
For example, a matte appearance does not limit you to catalog models already shown with a frosted finish. Sambound can injection mold a transparent bottle and then apply a matte spray coating. Start with the target fill amount and bottle shape, then confirm the process for that model’s material and intended finish. A clear, glossy catalog photo can be a starting point for selection rather than the only available appearance.
Changes to part geometry require design and tooling assessment. Lengthening a cap may appear to be a single change, but you still need to establish whether it affects only the outer shape or also the internal connecting parts, wand stem, or closure fit. The manufacturer should explain which specific parts can remain and which require development. Keeping an existing bottle does not automatically mean that the entire component set stays unchanged.
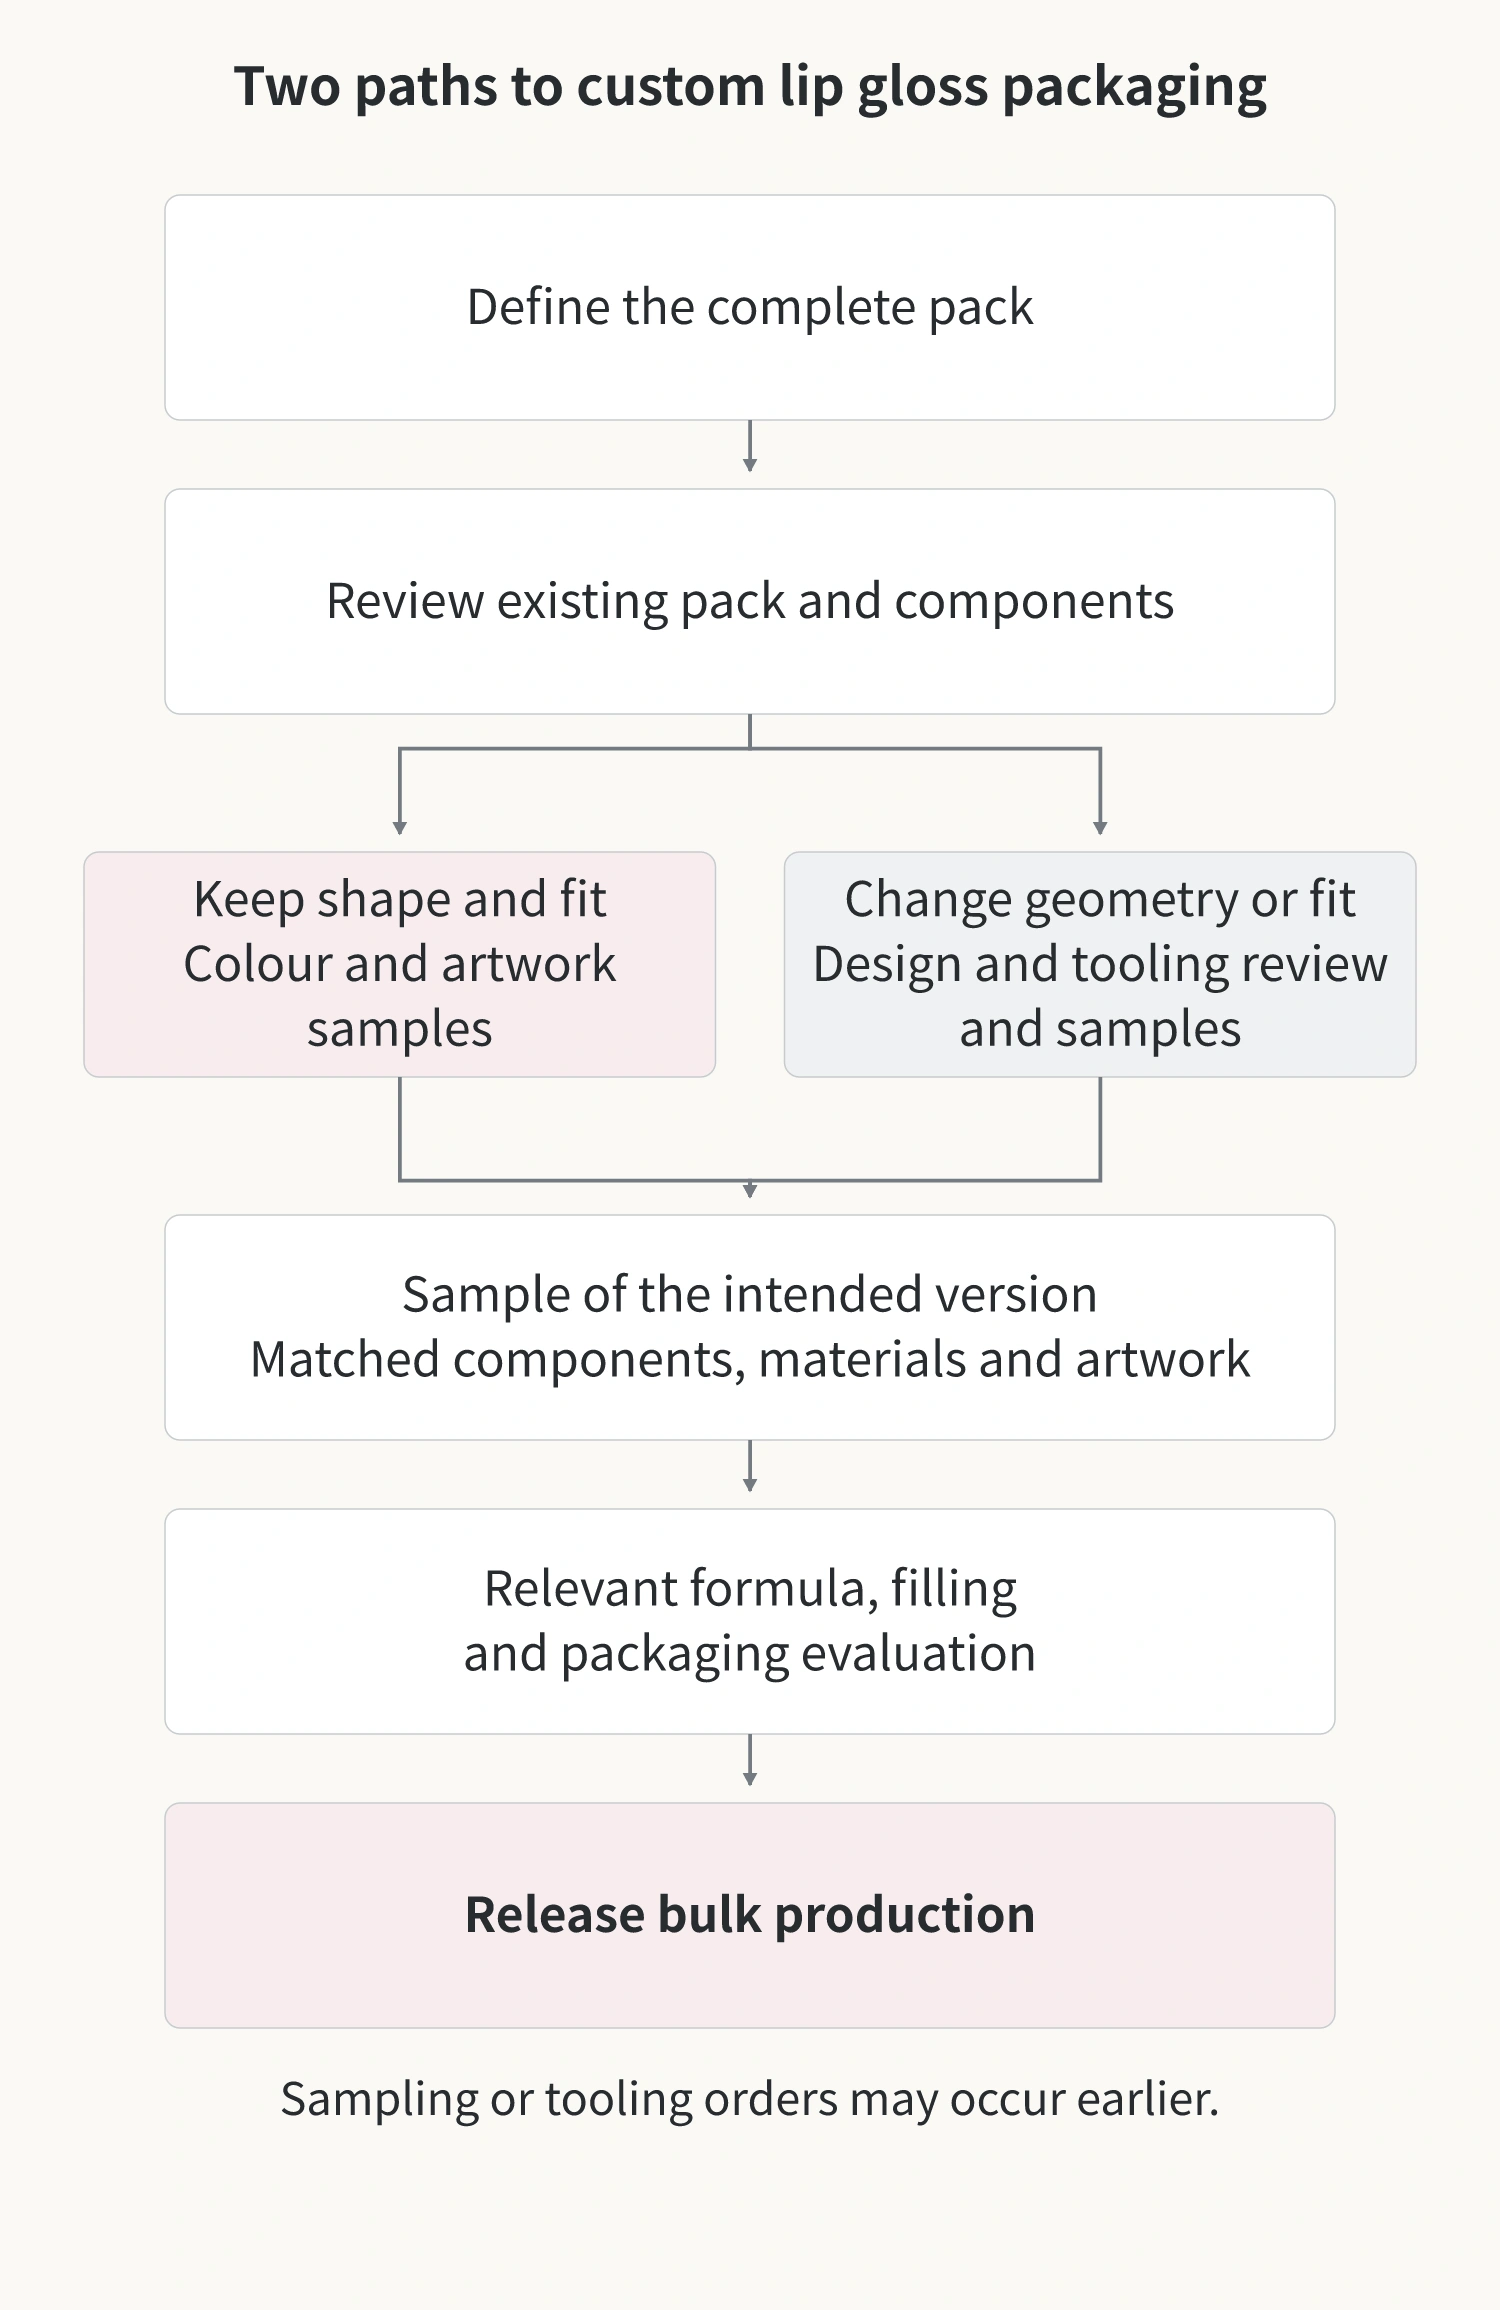
At this stage, discuss costs and timing alongside the expected total quantity, quantities per color, and delivery requirements. Development, tooling, or sampling work may require an earlier order. Agree on which costs arise at which stages before starting the relevant work.
Confirm Colors and Artwork on the Actual Parts
After defining the scope, confirm the areas and dimensions available for decoration with the manufacturer. Whether the logo goes on the bottle or cap, which way text faces, and whether a graphic crosses a corner must all correspond to the selected part. Approve artwork at its final application size and make sure text, images, and other required assets are complete. A rendering that conveys the overall visual direction is usually not enough to start decoration production.
You can start color discussions with a color reference code or a physical color sample. Also specify whether the bottle should be transparent, translucent, or opaque, and whether its surface should be glossy or matte. The material and surface condition affect the final appearance, so review a physical sample made with the intended part and process. A pink shown on a screen alone cannot confirm the finished color.
When you receive a sample or rendering, first establish which decision it is intended to support, then determine what you can approve at that stage.
| Reference in Hand | What It Can Help You Assess | What Still Needs Separate Confirmation |
|---|---|---|
| Stock sample | An initial assessment of the bottle shape, dimensions, and how its matching components feel when held, opened, and closed | The physical appearance of custom colors and artwork, and the exact component configuration after changes |
| Rendering or appearance model | A rendering helps discuss the proportions and artwork positions shown; a physical model also lets you examine the shape that has actually been made | The real color, gloss, and decoration on the intended material and process, as well as functional performance |
| Decorated sample made with the intended parts and process | The color, gloss, and decoration on that surface | Compatibility with the intended formula still requires evaluation of the specific packaging version |
Evaluate the Intended Formula with the Selected Packaging Version
Once the packaging concept is selected, evaluate it with the intended formula. An empty tube that looks suitable does not establish how it will perform with that formula during product pickup, wiping, closure, or storage. The brand owner, filling team, and packaging supplier should define their respective evaluation responsibilities, including which formula, materials, and components will be checked.
Evaluation samples should represent the intended packaging version. The bottle, wiper, wand stem, and applicator should match the selected configuration. Record any remaining differences in materials or manufacturing conditions. Formulas and packaging materials can interact, so evaluation conditions and acceptance criteria should be developed for the specific product. Results from another empty tube or another formula cannot simply be carried over.
This work can run alongside parts of appearance development; every task does not have to wait for the previous one. Before bulk production begins, both sides need to know which necessary approvals are complete, which remain outstanding, and who has authority to approve the next stage.
Keep the Order, Approved Sample, and Production Files on the Same Version
When preparing for bulk production, make sure the order identifies the approved bottle, components, material requirements, colors, and artwork version. Retain an identifiable approved sample and state whether it approves appearance, component configuration, or another specific item. If anything remains outstanding, a general comment that the sample is acceptable must not be interpreted as approval of everything for production.
Also confirm quantities for each color and artwork variant, separately listed development or tooling costs, the scope of supply and packing, and the condition that starts the lead-time clock. Placing a development or sampling order and approving bulk production are different actions. Their sequence depends on the project agreement; a general reference to placing an order should not blur that distinction.
If you make changes after approval, identify the new version clearly. Changing an approved glossy surface to matte requires the corresponding surface and decoration effects to be confirmed again. Replacing a wiper or applicator means revisiting the affected pickup, wiping, and fit checks. Retain results that still apply, complete the checks affected by the change, and align production files with the finally accepted sample. That is how a packaging idea moves from an appealing image to the specific lip gloss pack that both sides agree to produce.