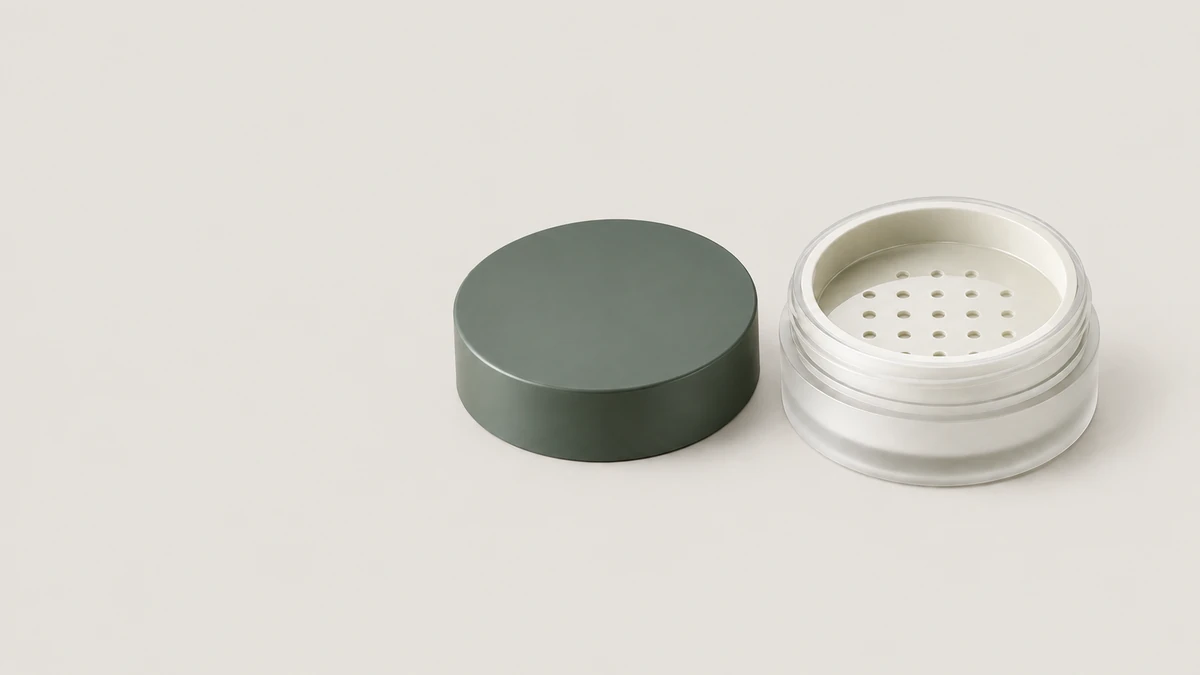
A stock loose powder jar is not limited to a logo swap, but it also cannot be changed anywhere without checking the structure. To decide whether a change requires new tooling, first identify whether it happens during injection molding, after molding as a surface treatment, or during component assembly. Then check whether the selected model has a ready option with the same SKU and interface. The result usually falls into four categories: a ready option, a separate plate or fixture fee, a component mold change, or a body mold/private mold project.
When Sambound handles a loose powder jar customization request, we separate color, graphics, sifter, puff, and jar-neck structure before discussing price. This prevents a surface treatment from being quoted as a mold project and prevents an incompatible sifter from being treated as a stock component. The sections below break the decision down by process and component: what changed, what to check, which cost category applies, and what to confirm next.
First identify the process where the change occurs
Start with the target loose powder jar and mark the intended change by component. The jar body, cap, sifter seat (the injection-molded ring or tray that supports the sifter), and inner plug are injection-molded parts. Spray coating, electroplating, screen printing, and hot stamping are performed after the injection-molded part is formed. The mesh and puff are added during assembly. The mold controls plastic geometry and fit; a color or graphic change does not automatically mean the plastic structure changed.
Then ask a second question: Does the selected stock model have a ready color, print layout, or compatible sifter configuration? The question is not whether a supplier happens to carry a certain sifter. It is whether that component belongs to this loose powder jar and can assemble correctly with the same interface. These two checks form the complete decision rule.
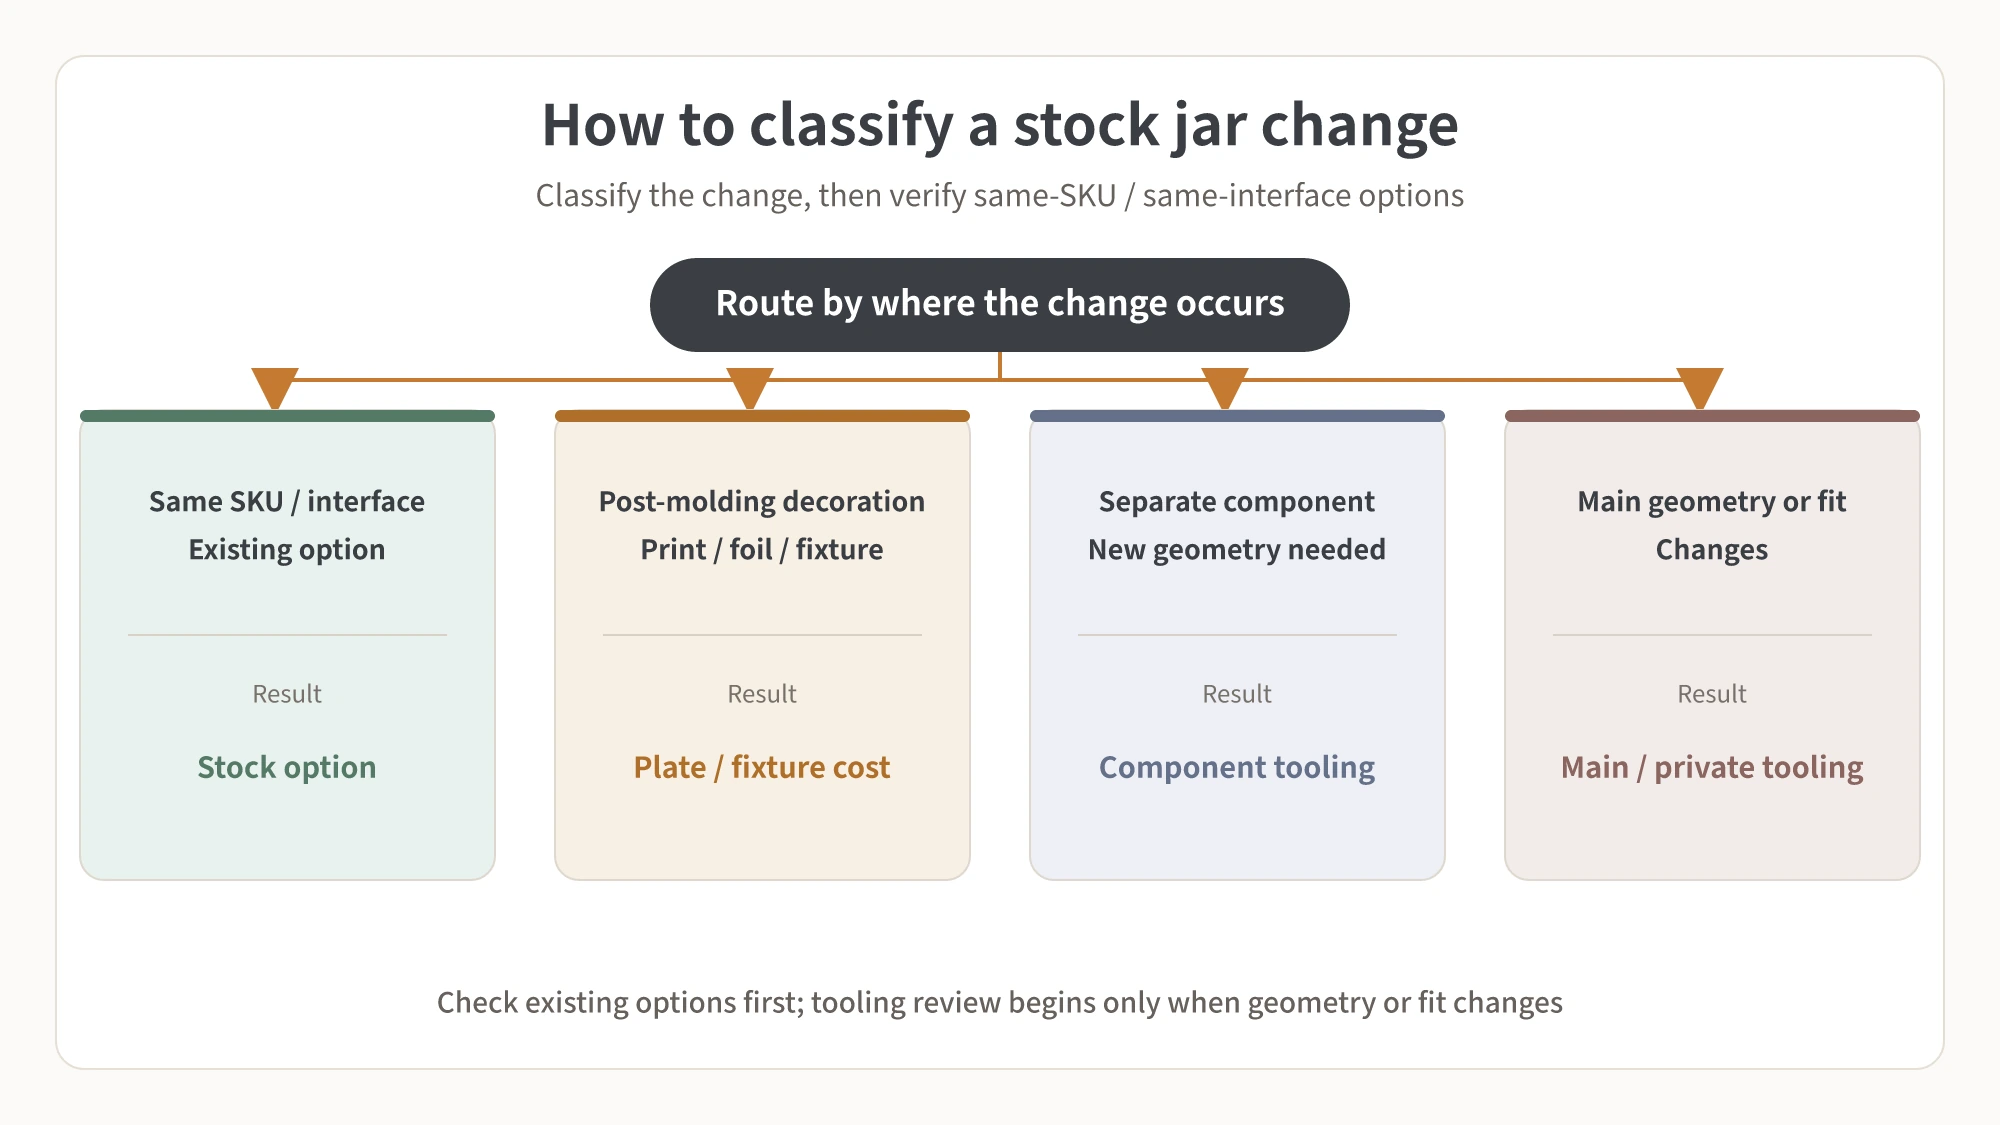
| Check result | Category | Next step |
|---|---|---|
| A same-model, same-interface component is already listed | Ready option | Take samples for assembly and use testing |
| The change is a post-molding surface treatment | Plate or fixture fee | Separate one-time tooling from the per-unit process charge |
| Only the geometry of an independent component such as the sifter seat changes | Component mold | Confirm which mold changes and whether the jar neck is affected |
| The jar neck, thread, seal, outer shape, or fit dimensions change | Body mold or private mold | Run a structure review, then confirm the tooling scope |
Once you have this result, do not ask for one combined price. Ask the supplier to reply by the relevant cost category so color, printing, and sifter changes do not get mixed into one vague “mold fee.”
For color changes, first confirm which layer is changing
Changing color usually does not require a mold change, but “color change” covers at least two different processes. One is adding masterbatch (concentrated pigment pellets) before injection molding so the color runs through the plastic. The other is applying spray coating or electroplating after molding to create a colored, metallic, or pearlescent finish. Both can use the original mold, but their quotations and sample approvals are different.
Prepare the color reference and target finish before sampling. For transparent, natural-plastic, or translucent effects, review the resin and the colored injection-molded sample. For metallic or pearlescent effects, review the spray-coated or electroplated surface sample. If the jar body and cap use different materials, the same color reference can still appear different, so each component must be matched separately rather than approved from one color chip.
The decision is straightforward: if the color change does not alter plastic geometry, it does not belong in the mold-free line. The supplier should list color matching, sampling, surface treatment, MOQ, and production-scheduling conditions separately. Confirm each component’s material, color reference, finish, and sample-signoff method, and use the written quotation for that specific SKU and order. Without a specific model number, order quantity, and quotation date, MOQ (minimum order quantity) and lead-time figures cannot be compared.
A separate case needs review. A request may be described as a color change but also ask for a different resin or material performance. Color alone does not require new tooling, but a material change may affect compatibility with the existing mold, surface process, and target formula. Until that compatibility is verified, keep it as an item pending confirmation rather than treating it as an ordinary color change.
Screen printing and hot stamping use plate or fixture fees
Screen printing puts ink on the molded surface, while hot stamping transfers foil with heat. Both are post-molding decorations and do not change the injection geometry of the jar body or cap simply because a logo was added. Check which surface carries the logo, how many colors are printed, whether a fixture is needed, and whether the artwork can be applied to a curved surface or corner.
After you provide the artwork, color count, and print location, the quotation should separate one-time tooling such as a screen, hot-stamping plate, or fixture from the per-unit processing charge. This is a decoration quotation, not an injection-mold quotation. Do not assemble a price from another supplier’s screen fee, an old order, or a different packaging item. The figure must be tied to the quoting party, exact model, quantity, process scope, and validity date.
For a logo on a curved surface, corner, or very small area, ask the supplier whether a dedicated fixture is required and use an actual part for sampling. Check position, color, edge definition, and adhesion. Only after the sample passes should you confirm the mass-production quote and acceptance sample. A fixture means an additional tool in the decoration process; it does not turn the job into an injection-mold fee.
An in-mold relief logo is a different type of change. The raised or recessed logo is formed by the reverse geometry in the mold, so the injection geometry changes. If the selected stock model already has that relief, it can continue to use the existing option. If you want to replace it with your own three-dimensional lettering, evaluate a mold modification or a new mold. First decide whether you need surface graphics or molded three-dimensional geometry, then ask for separate quotations.
For a sifter, check the same SKU and interface first
“Change the sifter” does not automatically mean “no mold,” and it does not automatically mean “tool the complete jar.” The jar neck normally combines the body, sifter seat and mesh, puff, and cap. The mesh and sifter seat can be assembled as independent components, but that does not mean components from different models are interchangeable.
Ask the supplier for the sifter options and interface information for the selected SKU. Check the sifter seat’s snap or threaded position against the jar neck, the space inside the cap, and the key dimensions. A catalog entry only proves that the supplier has that hole pattern. It enters the ready-option branch only when the component belongs to the same SKU or has been proven compatible with that interface.
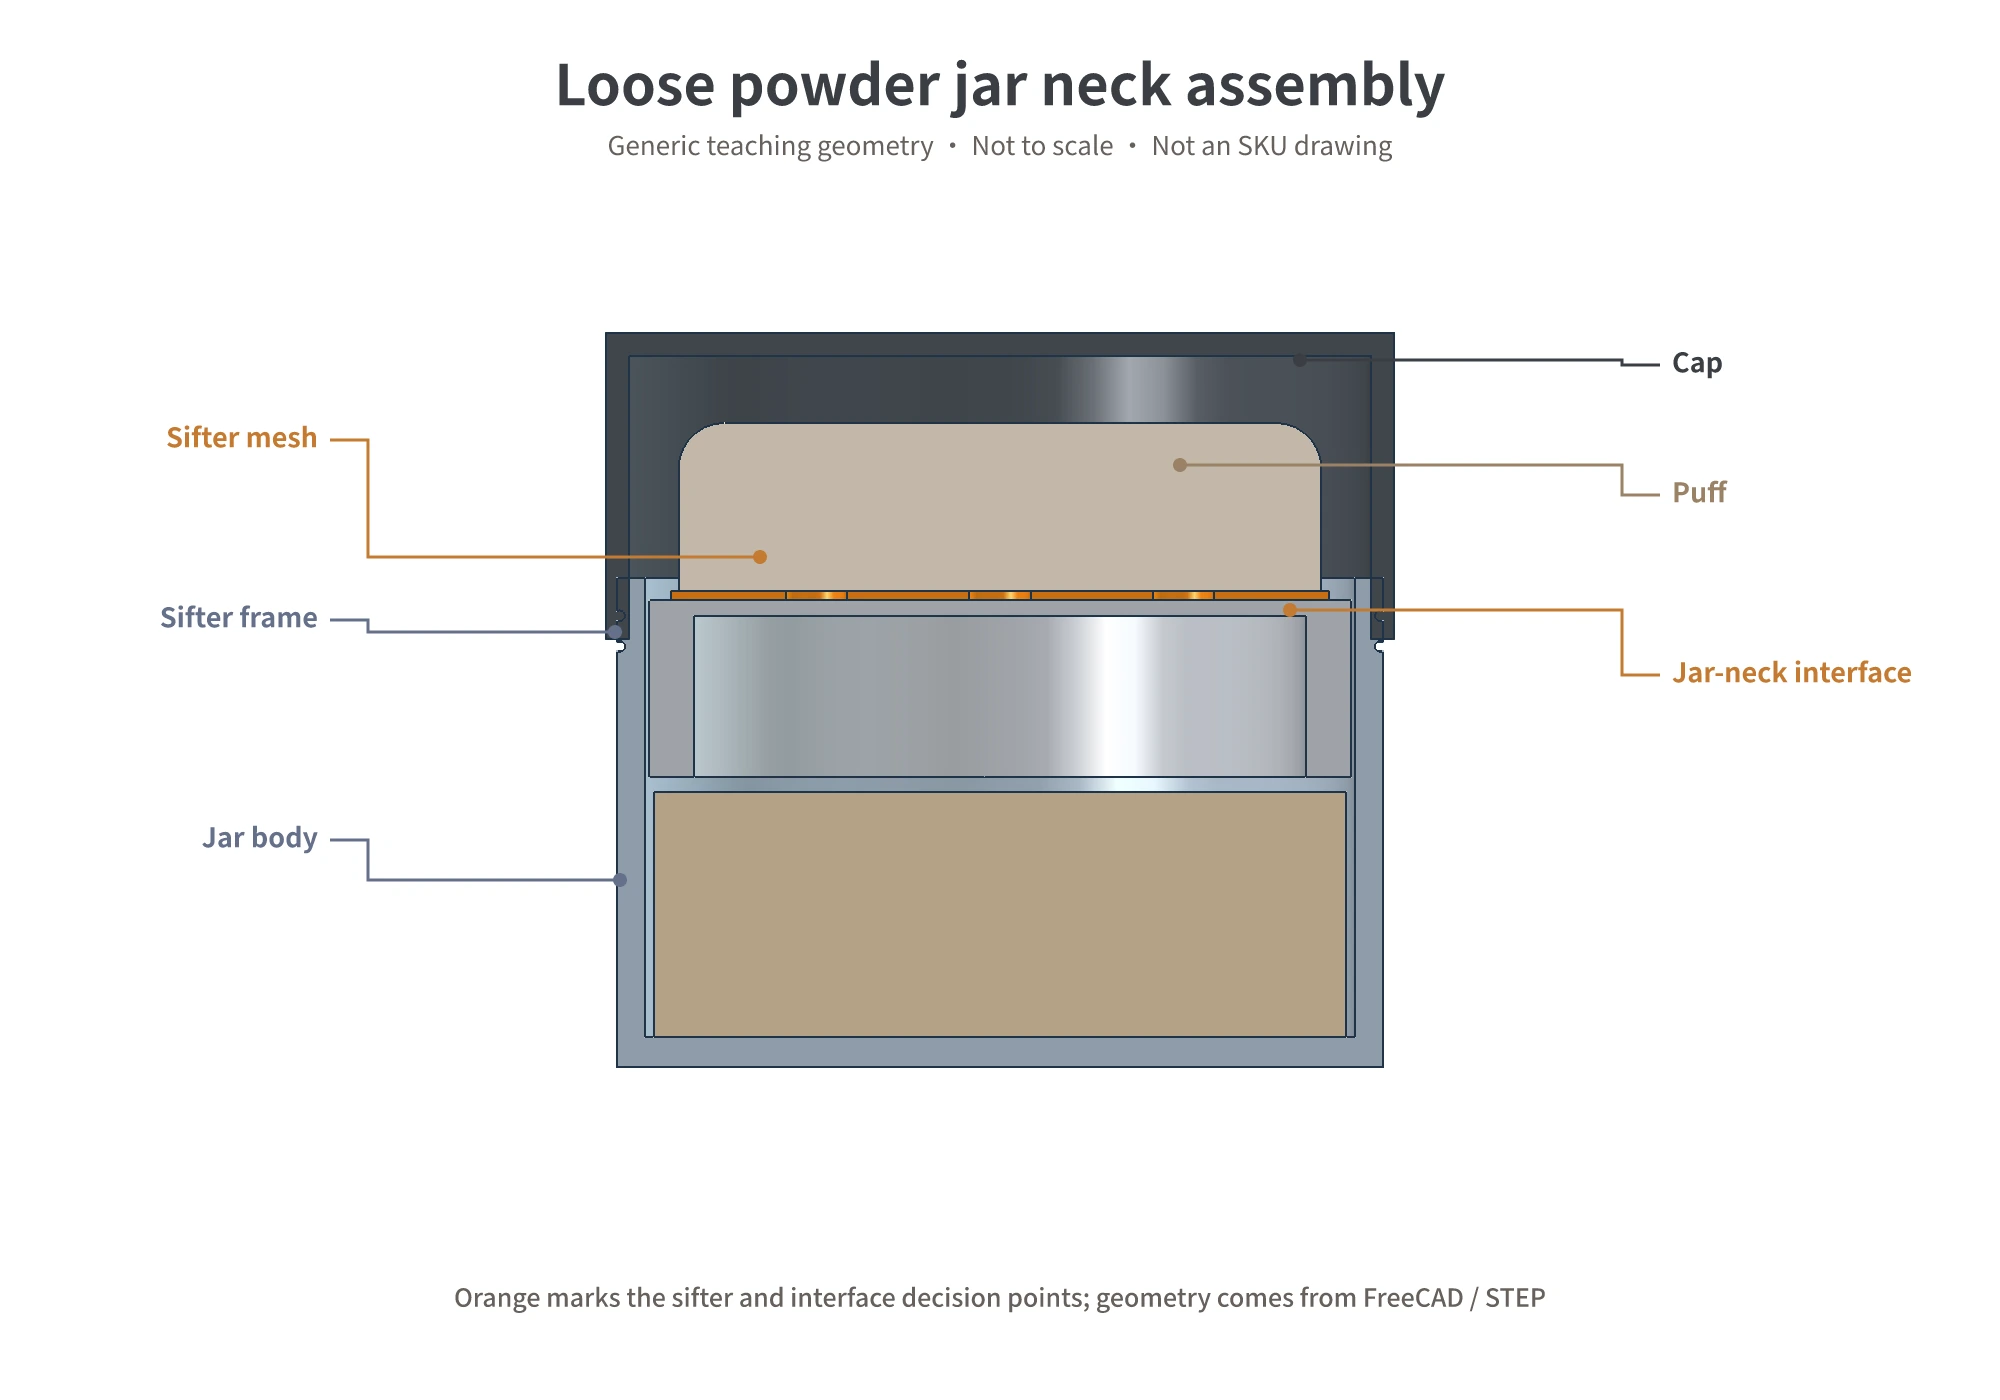
True compatibility must be confirmed with physical samples. Check at least three things: whether the parts assemble and open normally; whether powder leaks after filling, carrying, or inversion; and whether output and dispensing feel like they meet the requirement with the target formula. The hole pattern is only one factor; the powder itself can change the result, so hole count alone cannot guarantee dispensing performance.
Only after testing passes is the conclusion a ready option with no mold change. If no compatible stock component exists but the jar neck does not need to change, ask whether only the sifter seat mold can be changed. If the new design changes the neck interface, sealing contact, or space inside the cap, move to a body-mold review. Instead of vaguely asking, “How much to change the sifter?” ask the supplier to state the basis for the stock component, test results, and the exact mold that would be change.
Move these changes into a mold review
When a change reaches the jar neck thread, snap feature, seal, dispensing interface, outer shape, or another fit dimension, the plastic geometry has changed. Even if the visual difference is small, it should not be handled as a stock decoration change. Mark which injection-molded part changes, then determine whether an independent component mold is enough or whether the body and cap molds are affected.
The puff and its storage space are easy to confuse. The puff itself is an assembly component; a change in material, thickness, or feel can first be checked against ready options. The puff compartment is the space inside the cap that holds the puff. Changing its depth or internal profile changes the cap’s injection geometry and enters a cap-mold review.
In-mold relief and a brand-exclusive outer shape are also geometry changes. After a stock model has been validated for the market and use case, developing a dedicated structure for a stable core product can make sense. Do not, however, take scattered tooling costs, MOQs, or lead times from online articles or different suppliers and apply them directly to your project. Ask for a written quotation tied to the confirmed structure, stating whether the job is a mold modification or a new mold, which parts are involved, and when the lead-time clock starts.
A structure review should be marked on a drawing or sample. If only the sifter seat is circled and the jar neck, cap, and sealing contact remain unchanged, it is reasonable to ask about a component mold first. If the mark crosses into the jar neck or the space inside the cap, the relevant body parts must be reviewed as well. The result should identify the mold, parts, and samples that need to be redone, rather than simply saying “new tooling required.”
Lock the boundary in a table before sending the RFQ
Do not write only “change color, print logo, and replace sifter.” Put each change on its row and let the supplier complete the option, tooling, and test results on the same sheet. The following fields can be copied into an RFQ:
| Field | You provide | Supplier completes |
|---|---|---|
| Change and target result | What should change and what result is expected | Whether it can be achieved under stock conditions |
| Components involved | Body, cap, sifter, puff, or inner plug | Part name and part number |
| Process | Injection molding, post-molding decoration, or assembly | Confirmed process and limitations |
| Stock SKU | Target model number or sample photos | Model status and available options |
| Ready option | Preferred color, graphic, or component | Whether it is the same SKU and interface |
| Interface and key dimensions | Known dimensions or drawings | Compatibility basis and missing dimensions |
| Tooling type | Leave open initially | None, plate/fixture, component mold, or body mold |
| Sample validation | Effects that must be checked | Assembly, leakage, dispensing, color difference, adhesion, and other results |
| MOQ and lead time | Expected quantity and launch date | Separate sample and production quotations with the start point |
| Cost | Request itemized pricing | Separate one-time fees and per-unit processing |
| Quotation details | Project name | Quoting party, date, validity, and exclusions |
| Final classification | Pending | Ready option, decoration, component mold, or body mold |
Once the table is completed, the sequence stays clear: confirm a same-model ready solution first, check for a separate fixture or tool next, and discuss molds last. If an existing option passes sample testing, continue with the stock model. If injection geometry must change, identify the exact mold before deciding whether to enter private mold development.